使用 OpenMVS 进行稠密重建、曲面重建和网格优化等。
手动编译安装 源码地址:https://github.com/cdcseacave/openMVS
本文的编译环境和实验平台:WSL version: 2.6.1.0, Ubuntu 22.04
1
2
3
4
5
6
7
8
9
10
11
$ wsl --install -d Ubuntu-22.04 Launching Ubuntu 22.04 LTS... Installing, this may take a few minutes... Please create a default UNIX user account. The username does not need to match your Windows username. For more information visit: https://aka.ms/wslusers Enter new UNIX username: New password: Retype new password: passwd: password updated successfully Installation successful!
(可以参照本文 移动安装位置,不再赘述)
1 2 3 4 5 6 7 8 9 10 11 12 13 14 15 16 17 18 19 20 21 22 23 24 25 26 27 28 sudo apt update && sudo apt upgrade -ysudo apt install git cmake g++ python3-dev libpng-dev libjpeg-dev libtiff-dev libglu1-mesa-dev build-essentialgit clone https://gitlab.com/libeigen/eigen.git --branch 3.4 cd eigen && mkdir build && cd buildcmake .. make && sudo make install && cd ../.. sudo apt-get -y install libboost-iostreams-dev libboost-program-options-devlibboost-system-dev libboost-serialization-dev sudo apt-get -y install libopencv-devsudo apt-get -y install libcgal-dev libcgal-qt5-devgit clone https://github.com/cdcseacave/VCG.git vcglib git clone --recurse-submodules https://github.com/cdcseacave/openMVS.git mv vcglib ./openMVS/libscd openMVSgit checkout v2.3.0 git submodule update --init --recursive mkdir make && cd makecmake .. -DCMAKE_BUILD_TYPE=Release -DVCG_ROOT=../libs/vcglib -DCMAKE_CXX_FLAGS="-w" cmake --build . -j8
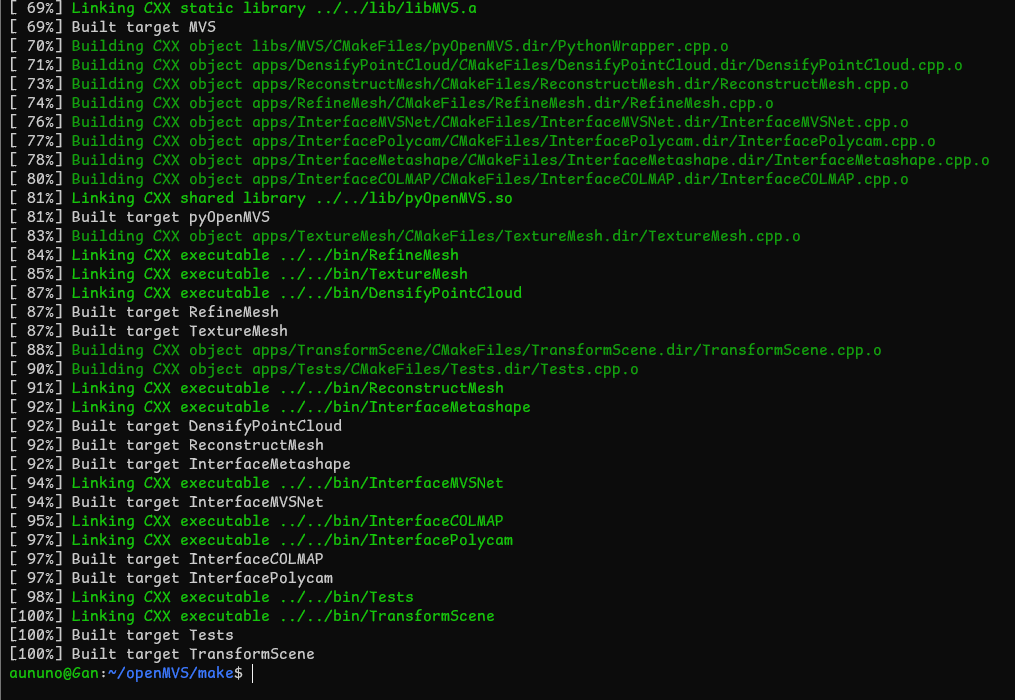
(如上图所示,编译成功。)
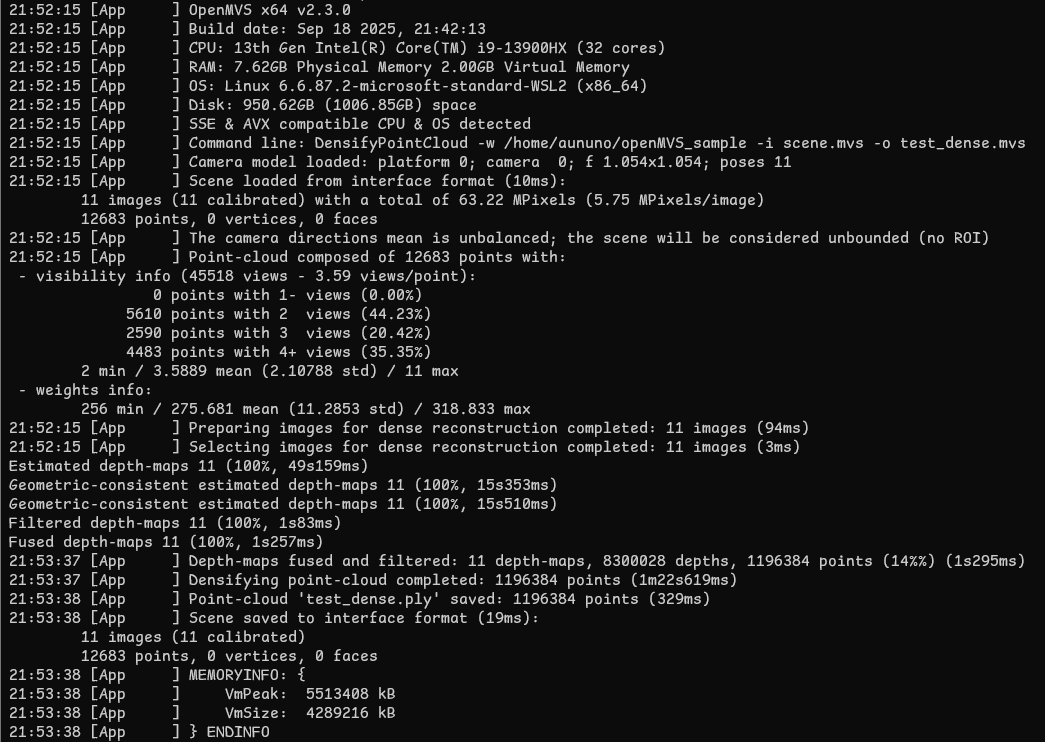
使用说明 以稠密重建为例:
先 cd ~,浅克隆一个文件夹: git clone --depth=1 https://github.com/cdcseacave/openMVS_sample.git。
然后 cd ~/openMVS/make,运行:
1 $ ./bin/DensifyPointCloud -w ~/openMVS_sample -i scene.mvs -o test_dense.mvs
就能在 openMVS_sample 文件夹下看到输出文件了。
然后按照这篇博客 安装 Meshlab,然后导入 .ply文件即可。